Stock photos can get rejected for a whole bunch of reasons. Luckily, inspectors usually tell you why, so you can fix it.
But it’s frustrating when your photo gets rejected for a reason you don’t even understand.
Like “artifacting.” What the heck is that?
A while back, a reader wrote in with this question, and a few sample photos:
We have a number of photos accepted for Shutterstock, but they are all being rejected by Adobe, for “artifacts.” I am starting to think that we are limited by our camera — a Sony H400. This is a fairly cheap camera, but it has been great to us as far as getting a good number of stock photos accepted into Shutterstock. It is not very good in poor light conditions, however, so we would love to upgrade as soon as we can afford to.
I am excited to join your group. We are trying to get an income to support ourselves and have been working at this goal since the beginning of the year. As total beginners we have learnt heaps, but now the finances dictate that we must start making money! The ideas we are getting from your roadmaps are tremendous!
Thank you again,
Graham & Robyn
Thanks for writing in Graham and Robyn! Since a lot of people run into the mysterious “artifacting” or “artifacts” issue, let’s talk about it.
First of all, what are artifacts?
Photos can be measured in size (pixels or megapixels) but they can also be measured in quality. No matter how big your photo is, it can still be low-quality.
It’s when your photo is low-quality that artifacts start to appear. They can show up in a few different ways, but usually look like blotchy or jagged lines in your image.
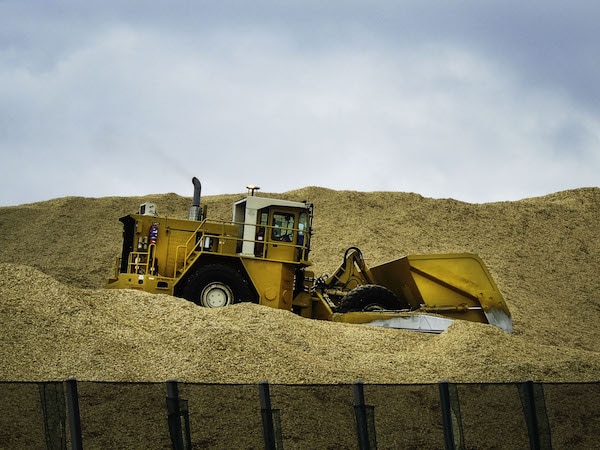
Have a look at this photo Graham and Robyn shared, for example. When you view it at this size, it looks completely normal:

But when you zoom in to look at a magnified view of the sky…

There it is. It’s subtle, but there are “blocky” or “patchy” areas throughout – kind of like a sandy texture where the image should be smooth. These are artifacts. And they often show up in areas of blue sky or any other smooth, non-detailed parts of an image.
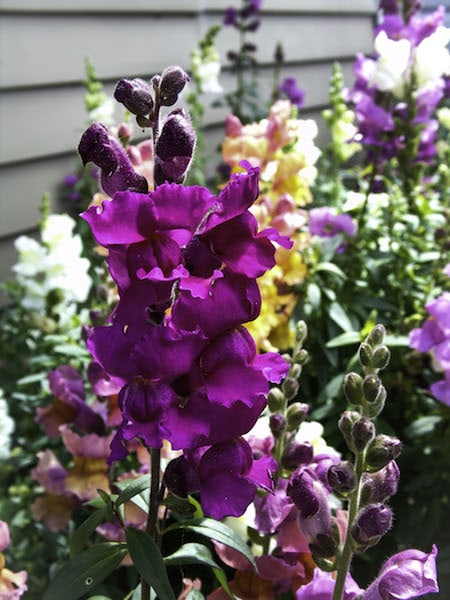
Here’s another example they sent in. Again, it looks totally normal at this size.

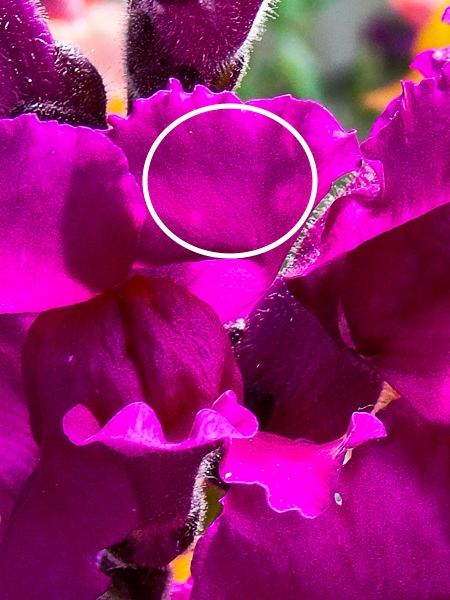
But when you blow it up to 100% and look at the petals…

We see that sandy texture again.
Remember, you likely won’t see artifacts unless you zoom in to your images, so before you submit photos for stock, it’s a good idea to view them at 100% to look for issues. Here’s how.
How to avoid artifacts?
Of course, you’ll want to try and avoid having artifacts in your images. Here’s how:
- Set your camera to shoot at the highest possible image quality. You’ll need to delve into your menu settings to check this.
- Try not to over-process your photos. For example, if you try and push the Lightroom sliders too, you could start to harm the image and create artifacting.
- Shoot in raw. Setting your camera to shoot in a raw file format will give you the most information possible to work with in editing software later.
- Once you finish editing, make sure you’re exporting or saving your images at the highest possible quality. You don’t want your editing software to be needlessly compressing your photo.
- Try to get your exposure right in-camera. For example, don’t get into the habit of taking underexposed images, saying you’ll fix it in Lightroom later. You’ll always have better image quality if you capture the information correctly in your camera from the get-go.
And, yes — sometimes the sensors in older cameras and smartphones aren’t up to snuff. So, if you’re shooting with a camera that is 10+ years old, and you’re noticing artifacts, it might be time for an upgrade.
You might also see them more when you shoot with your phone. So if you love a particular scene and your camera is nearby, try to get the shot with your camera AND your phone.
There are many variables when it comes to artifacts, but hopefully this info will help you troubleshoot and avoid one of the most common reasons for stock photo rejections.


