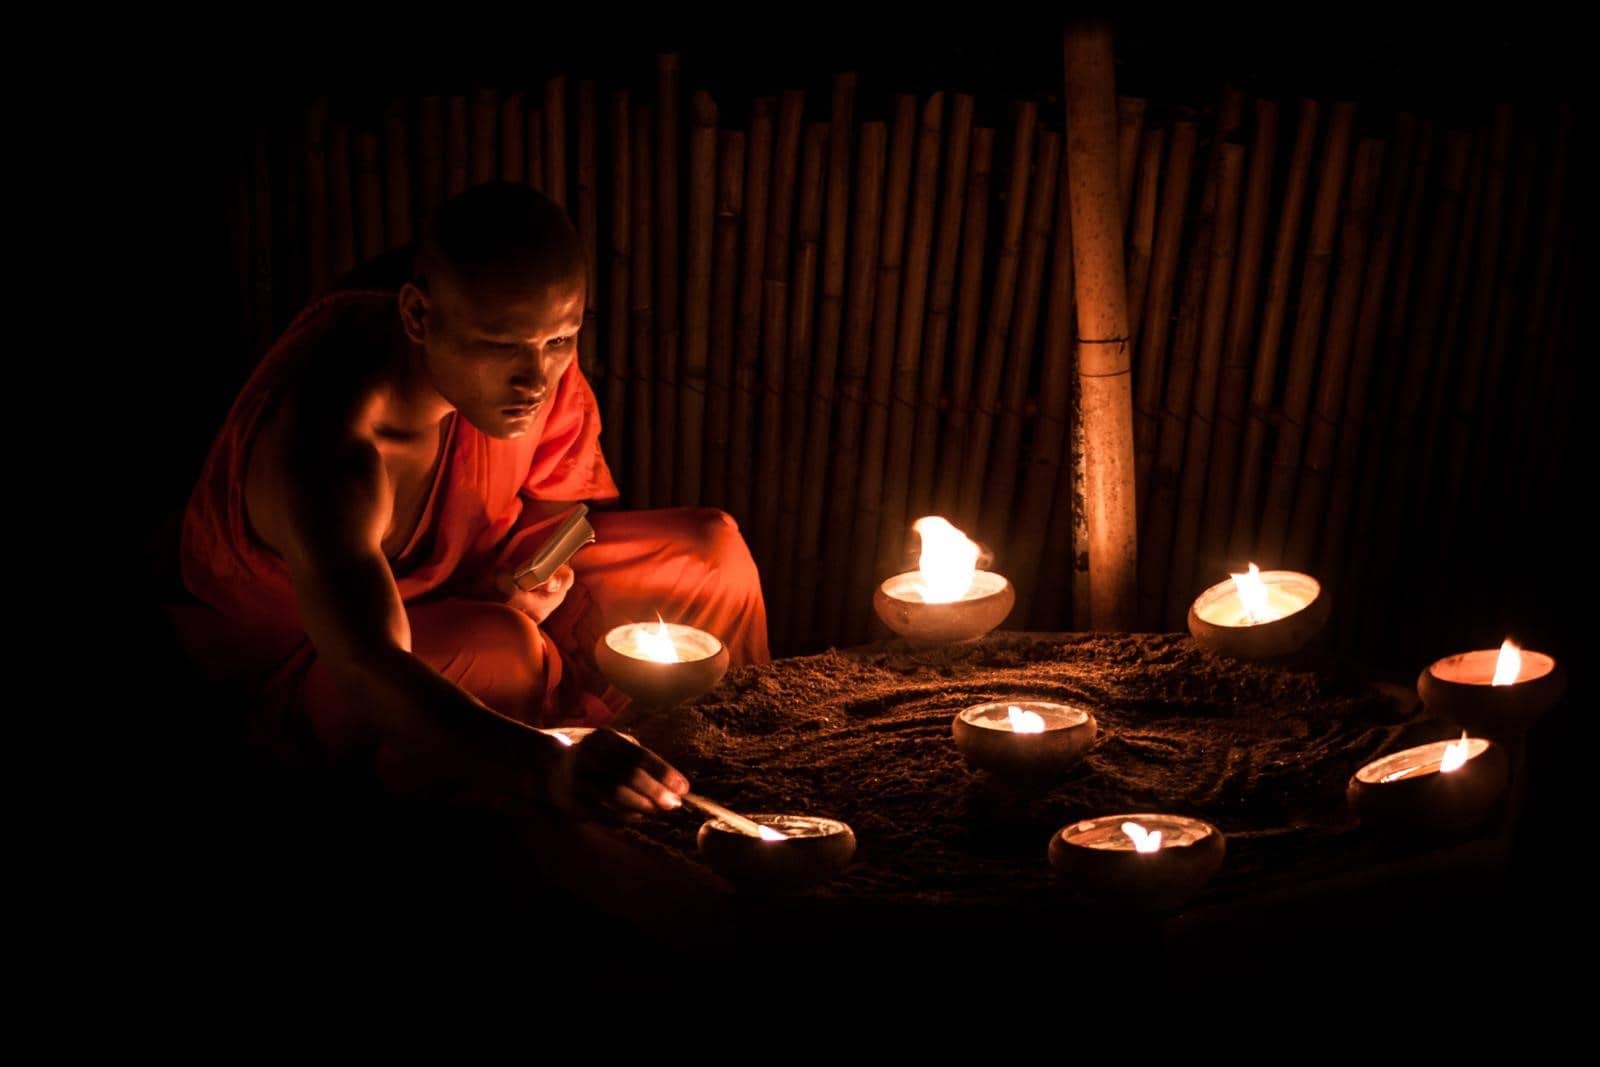
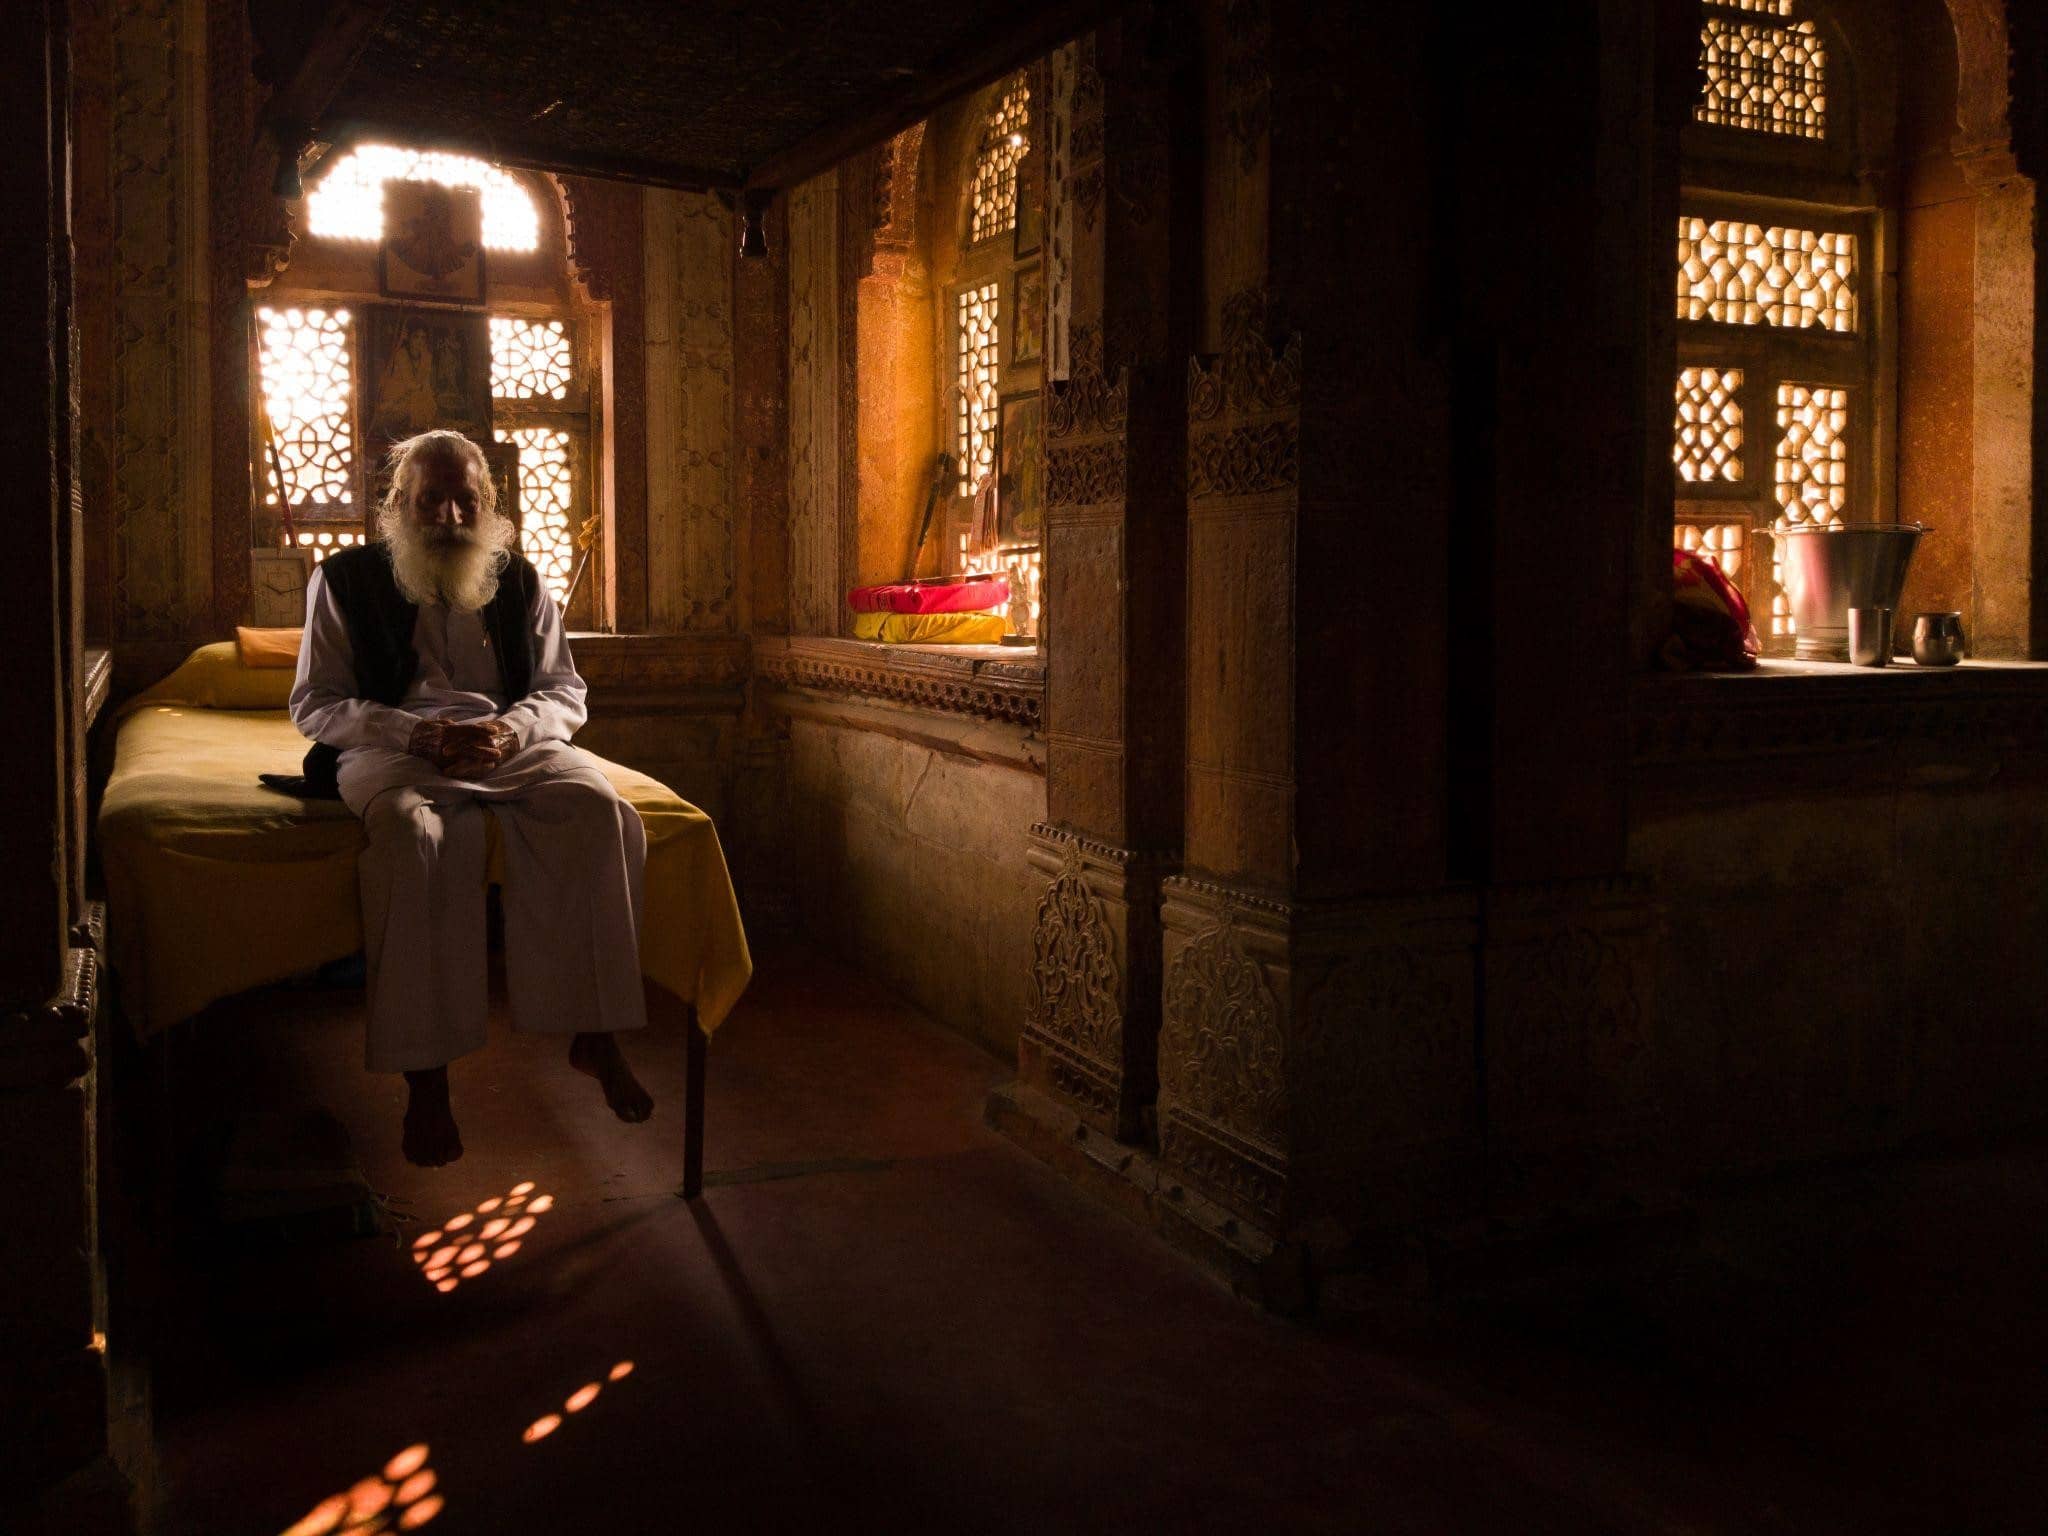
A lot of us photographers feel more than capable of taking good outdoor photos in bright sunlight. However, there are many scenarios when we can also find ourselves working in less-than-ideal lighting situations such as inside churches and temples, during candlelit ceremonies, or even simple portraits in a dark room.
This can result in a lot of blurry images and lead to a lot of frustration.
Here are some tips to help you take sharper and better images in low light without having to rely on your camera’s flash unit.
1- Stabilize your camera:
Low light means a slower shutter speed and a slower shutter speed means camera shake.
The best way to avoid blurry images is to simply use a sturdy tripod, which will keep your camera steady for longer exposures.
To steady your shot even further, you can use a remote release or a 2-second timer to avoid touching your camera and introduce more shakes.
If you don’t have a tripod around, you can also rest your back against a wall, kneel or sit down on the ground for more stability. Setting your camera on a ledge or something stable works great too.
2- Switch to shutter priority mode:
The worst camera mode to use in low light is full auto mode. It forces your camera to use the flash unit and ruin the mood. Instead, I recommend getting used to shooting in shutter priority mode which will allow you to choose the right shutter speed for your shot, while the camera takes care of the rest of the settings for you.
If you are shooting handheld, a good rule of thumb is to set your shutter speed to a fraction of your focal length.
For example, if you are shooting at 50mm, your shutter speed should be at least 1/50s or faster. Anything slower will likely introduce camera shake.
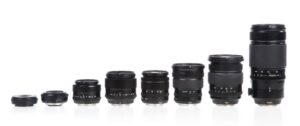
3- Open up your aperture and use a faster lens:
When lighting is limited, it’s important to let as much light in as possible through your lens. That means using a wider aperture, or a low f-number.
Of course, the quality of your lens is crucial when it comes to the maximum achievable aperture. A kit lens usually has a limit of f/3.5 or f/5.6 for maximum aperture and might pose a challenge when shooting in low light conditions. Switching to a faster lens with an aperture of f/2.8 or f/1.8 will allow more light in through your lens and capture better images in the dark.
4- Increase your ISO settings:
ISO allows you to control the camera sensor’s sensitivity to light.
Most of the time in bright light situations, you want to keep it as low as possible. In low light conditions however, you can slowly increase your ISO to allow your sensor to capture more light and help get a faster shutter speed.
The downside of increasing your ISO is the introduction of noise/grain in your photos. So try to increase your ISO as a last resort, after using a faster shutter speed and wider aperture.
And always remember this: a grainy photo will always be better than a blurry photo. Noise can be removed to some extent in Lightroom, but a blurry image cannot be fixed.
5- Shoot in RAW:
RAW files will capture more details in the darkest areas compared to a compressed jpeg file. This will allow you to process your images more efficiently and recover enough details in your shadows without introducing too much noise.
Also, it is very helpful to learn how to read your histogram to check your exposure and avoid clipping the shadows.
The more we practice our skills as photographers, the more comfortable we’ll become in any situation. So don’t worry about always trying to find the perfect light and embrace telling beautiful stories in any light!
— Daniel