We take thousands of images nowadays with our digital cameras and, regardless of your skill level, not every photo taken will be a keeper. Your portfolio will inevitably need to be narrowed down to only your best and strongest images. However, culling a massive amount of photos can seem like an overwhelming task, which is why having a solid workflow is essential.
Lightroom offers three different ways to rate your images based on stars, flags and colors. The appeal of rating your photos is that you can use the filter options to choose which ones will show up without being overwhelmed by your massive collection of photos.
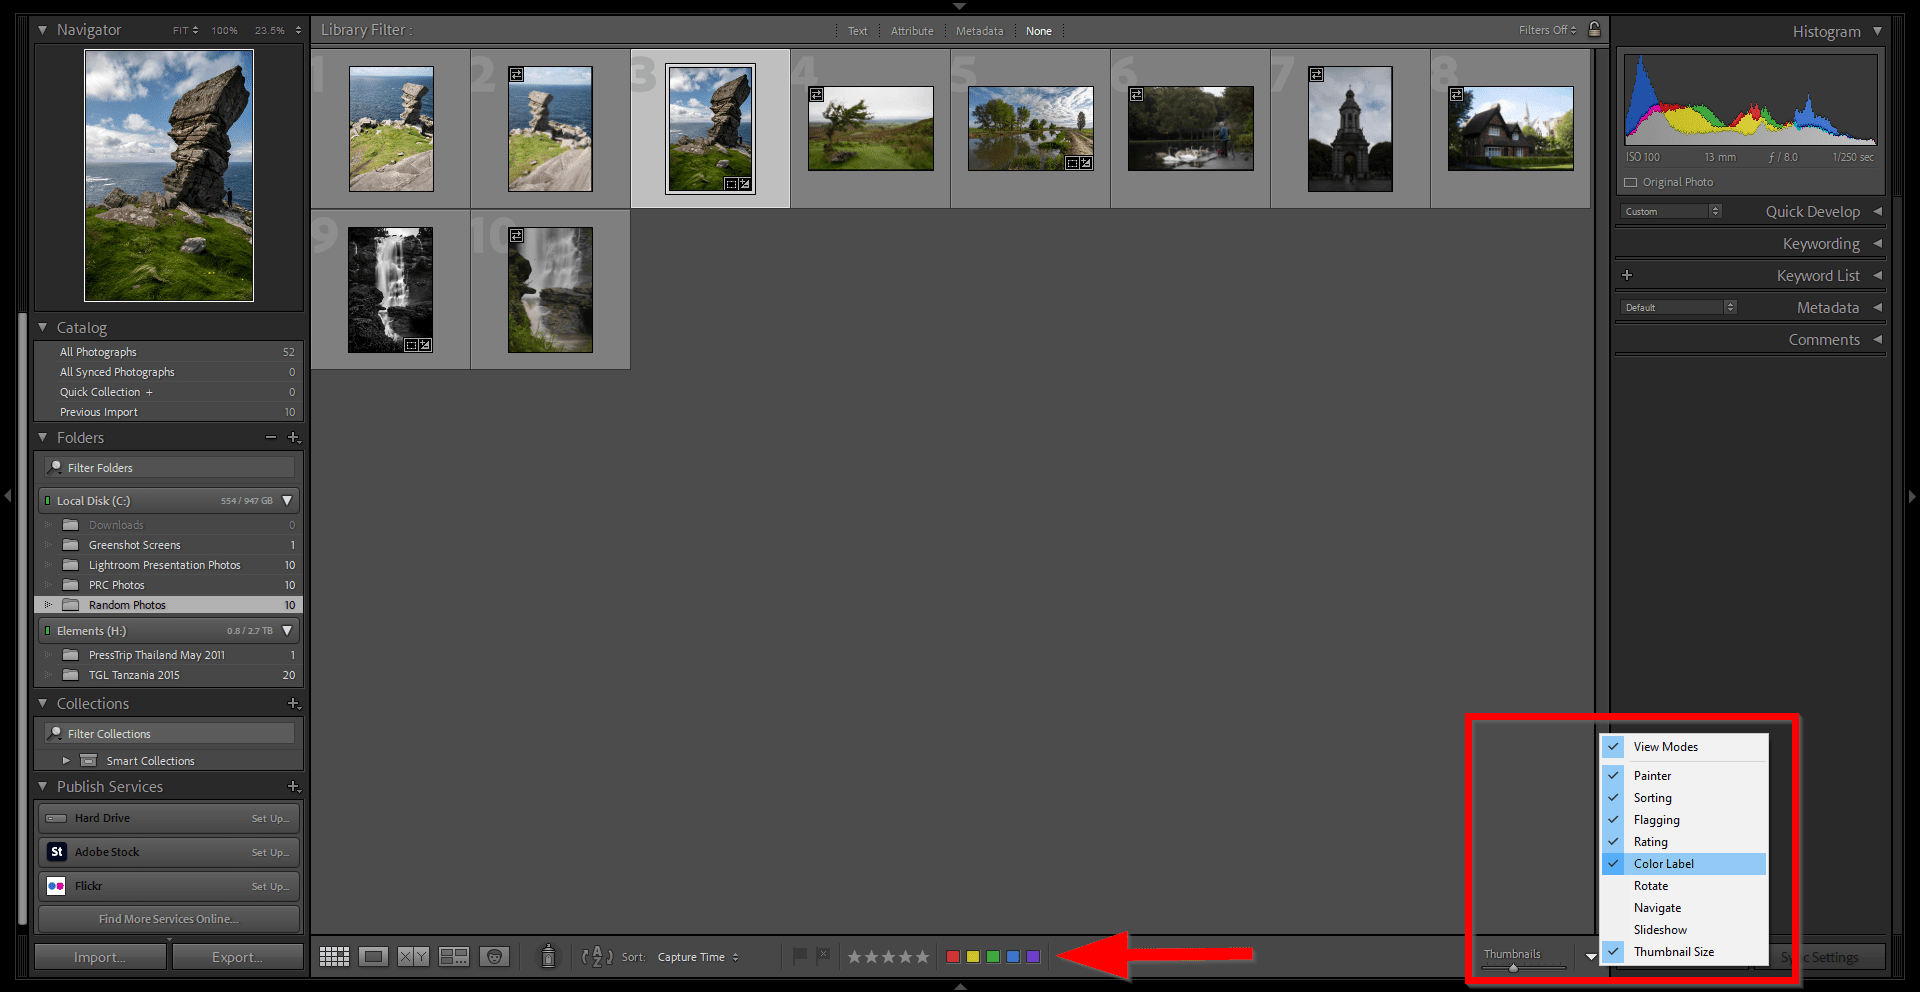
Before we start, if you don’t see the rating options in Lightroom, make sure you check and enable them in your Library module by clicking on the dropdown arrow on the bottom strip.
So let’s check the three options to organize, cull and rate your images in Lightroom:
- Give them a star:
The star rating is probably the most versatile and complex rating system available in Lightroom, giving you the freedom to micromanage and cull your collection to your liking. You can assign 1 to 5 stars to an image depending on how you judge their importance.
For example, a 5-star can be given to your absolute best images, and a 1-star to those terrible photos that need to be deleted. A 3-star might be “potential keepers” to edit later, and so on.
You can easily give a star rating to a selected image by pressing the numbers 1 to 5 on your keyboard.

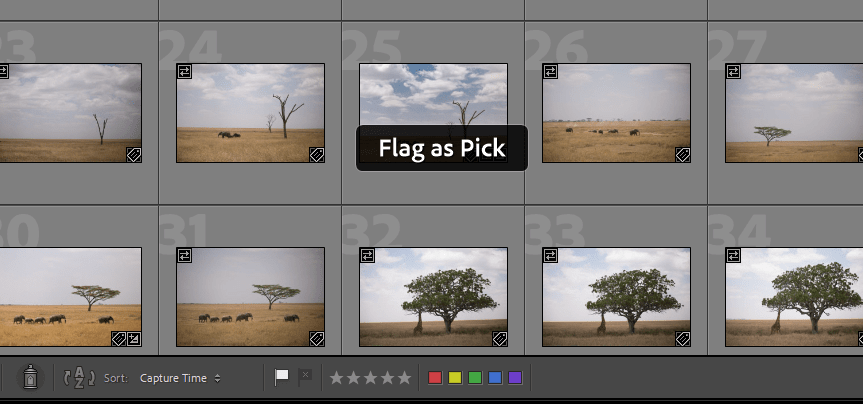
2. Flag your best and reject the worst:
The flagging system is the most simple and straightforward option to rate your images. You have 2 flags: Picked and Rejected. The appeal of this rating system is its simplicity. You either pick an image that you want to work on, or reject it and delete it later. The rest of the images can be left unflagged. The rejected images will be greyed out, and can be easily deleted by pressing CTRL+Backspace (on Windows) or CMD+Delete (on Mac).
The fastest way to flag your images is to use keyboard shortcuts: P for “Pick”, X to “Reject” and U to “Unflag” if you’ve mistakenly flagged an image.
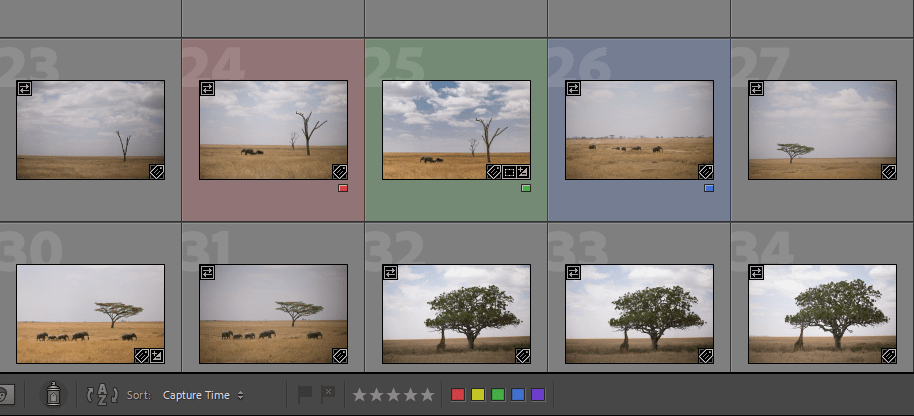
3. Add color labels:
The last option to rate your images is by using color labels.
You can assign a red, yellow, green or blue color to your photos. For example, photos that are edited and ready to be sent to stock can be labeled in green, and photos that need to be edited can be labeled in red. You can use other colors to cull to your liking even further.
You can press the numbers 6 to 9 on your keyboard to quickly assign a color to the selected images.
So which rating system is the best?
To keep it short: The best way to rate and cull your images is the one that works best for you.
There are benefits to all the different rating options and every photographer will have their own workflow and rating system, tailored to their own needs. If you like to give a 1-to-5 rating to images, then use the star ratings, if you prefer to work with colors, try the color labels. You can also keep it quick and simple by using the flag rating.
At the end of the day, evaluate your needs and find a workflow that will seem most natural and work best for you. The key is consistency.
— Daniel