How lucky we are as photographers to be able to create professional looking photos, right in our own living room or kitchen!
Today is the last part of a 3-part series from S&SPC reader and stock photographer, Kim Nelson, on taking tabletop stock photos in your home.
(If you missed the last two, you can catch up here and here.)
Today, we’re going to wrap up with a look at Kim’s favorite tools for making your life easier when shooting in your own home “studio.”
Use this list to take your tabletop stock photos to the next level!
Tabletop Photography Essentials
By Kim Nelson, Stock Photographer
As you experiment with tabletop photography, here are a couple of things to watch out for:
- Tiny distractions. I have three cats and no matter how much I try to keep their fur cleaned up, a stray piece always manages to find its way in. Always check your scene very carefully for things like crumbs, dust, hair, or stray fur before you start shooting.
Having a small collection of tools handy to clean up your scene is a must. My two favorite cleaning tools are a small paint brush and a large pair of tweezers. Removing any stray fur and particulates later is Lightroom is more time consuming than taking care of it before the shoot.
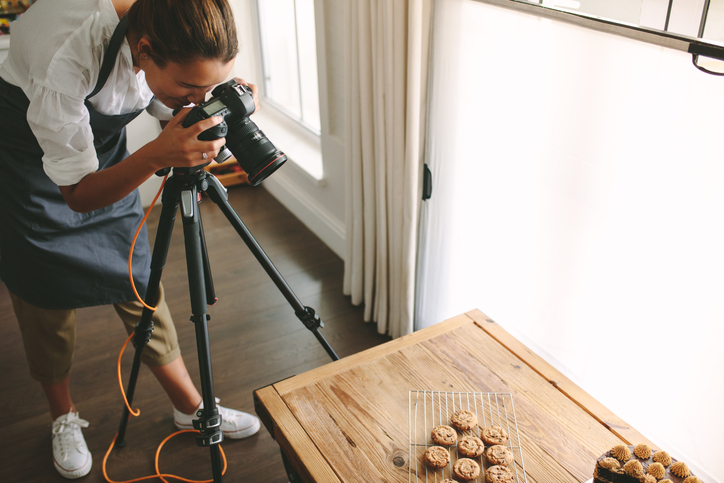
- Stabilization. For tabletop photography, it’s best to use a tripod to avoid camera shake. This way you can keep your ISO low and it won’t matter if your shutter speed is slow. It’s also a good idea to use a remote trigger (or set the self-timer) to reduce any chance of wiggling the camera when you take the shot.
A key point when shooting on a tripod is to make sure to turn off any image stabilization on your camera lens (if your lens has it). Your camera doesn’t know when it’s locked down on a tripod and will continue to try to stabilize your image – which actually adds vibration.
Here is a list of my favorite tools for a successful stock photo tabletop shoot!

Favorite Tabletop Shooting Tools
- Tripod or C-Stand for holding your camera and also positioning light modifiers.
- Remote trigger so you don’t wiggle the camera when you shoot. (Self-timer mode also works.)
- Diffusion material such as a collapsible diffuser and microfiber fabric shower liner.
- Light modifiers (white & black foam core board).
- Spring clamps in assorted sizes from the hardware store. These can be used to clamp diffusion material over a window, hold up foam core, etc.
- Gaffer Tape. This is a splurge item that is well worth the cost. I like it because it does not leave any sticky residue and is a lifesaver when you need to hold things in place.
- Lens cleaning cloths and blower bulb.
- Bounty paper towels (has the least amount of lint.)
- Small paintbrush – used for brushing dust, crumbs, etc. off surfaces and subjects.
- Lint roller for removing pet fur and dust specks.
- Q tips – great for cleaning food and liquid off sides of bowls, plates, drinking glasses, etc.
- Toothpicks, skewers, chopsticks – great for moving small objects with precision.
- Large tweezers to move things with precision.
- Hot shoe bubble level – level camera in two directions for flat lays.
- Makeup wedges – to prop up objects.
Of course, you don’t need to get everything on this list at once.
I started off small, purchasing very little, until I decided I liked this genre of stock photography and started having some success with it. I already had a tripod and bought white and black foam core boards and shower curtain liners. That’s it. I bought the C-stand for overhead shots only after I really started getting into food photography.
Have Fun!
My recommendation is to start off with items you have around your house and shoot things that interest you. Relax, play, experiment, and have fun with it.
