Last week, stock photographer and S&SPC member Kim Nelson shared some “behind the scenes” shots from a couple of her at-home tabletop shoots. If you missed it, catch up here.
This type of photography is so fun and simple, because you set everything up yourself. You pick the subject, the background, and the light.
If you’re up for creating some stock shots right in your home this week…
Today, Kim builds on what she shared with us last week by revealing how she modifies the window light for a great result, below…
Tips for Natural Light Tabletop Photography
By Kim Nelson, Stock Photographer
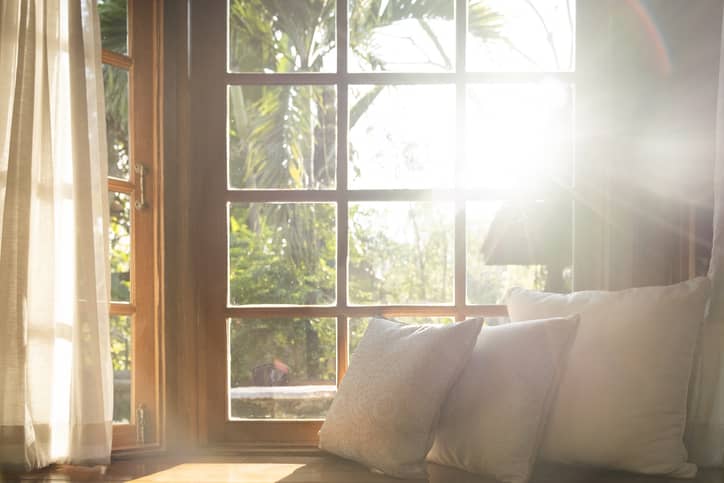
My dining room table is my best tabletop shooting location with its large, south-facing window as my main source of light.
Learning to control the light has been one of the most beneficial skills I’ve built while doing this.
Here are the main three things I’ve learned to focus on:
- Not mixing different colors of light
- Diffusing light
- Bouncing (or absorbing) light


You almost never want to mix light colors since it’s nearly impossible to fix later in Lightroom. If you’re using natural window light, turn all other lamps off unless they are specifically “daylight balanced” bulbs.
Depending on the look and feel I want for an image, I can choose different amounts of diffusion or bounce. Here are some tips:
- Even indoors, the weather matters. The weather and time of day has an impact. If the sun is shining directly onto my table, I will most often use more diffusion material since I usually want softer light for stock images, although occasionally hard light with high contrast dark shadows is the look I’m going for. Overcast days, or times of day when the sunlight does not come directly through the window, will require less diffusion to achieve a soft look.
- Save money. A couple of my favorite light modifiers are also very inexpensive. These include white foam core boards for bouncing light and black foam core for absorbing light (for a dark and moody feel). My local Dollar Tree store carries these as a standard item for $1 each. I cut them to fit what I need, and I also tape two together in book-binding style for self-supporting boards.
- A shower curtain works wonders. I have tried many types of white fabrics as diffusion material to cover my dining room window. The one I like best is a microfiber shower curtain liner from Walmart for $10. It’s lightweight, tapes up anywhere, and cleans up easily. I use this when light is too bright coming in from any of the windows that impact the room I’m shooting in. I also use one to block reflections by taping it to the opening between my dining room and living room and/or kitchen.
- Pick up a diffuser. A collapsible diffuser is an indispensable light modifying tool. They come in many sizes and are generally sold as part of a 5-in-1 collapsible reflector, like this one.
After reading these tips, the best advice I have is to grab a few of the items above and start playing.
Only by experimenting for yourself will you truly start to see how modifying the natural light in your scene can dramatically change your image.
More on how to do that next week!

