Last week I talked about one of my favorite fine art photos which I took in the Sahara Desert during a trip to Morocco.
It quickly became one of my popular images because of the very simple and clean composition and the black and white conversion.
Today I’m going to show you how I processed the original photo using only Lightroom. It’s much more simple than it looks.
Let’s start with the original image, straight from the camera:
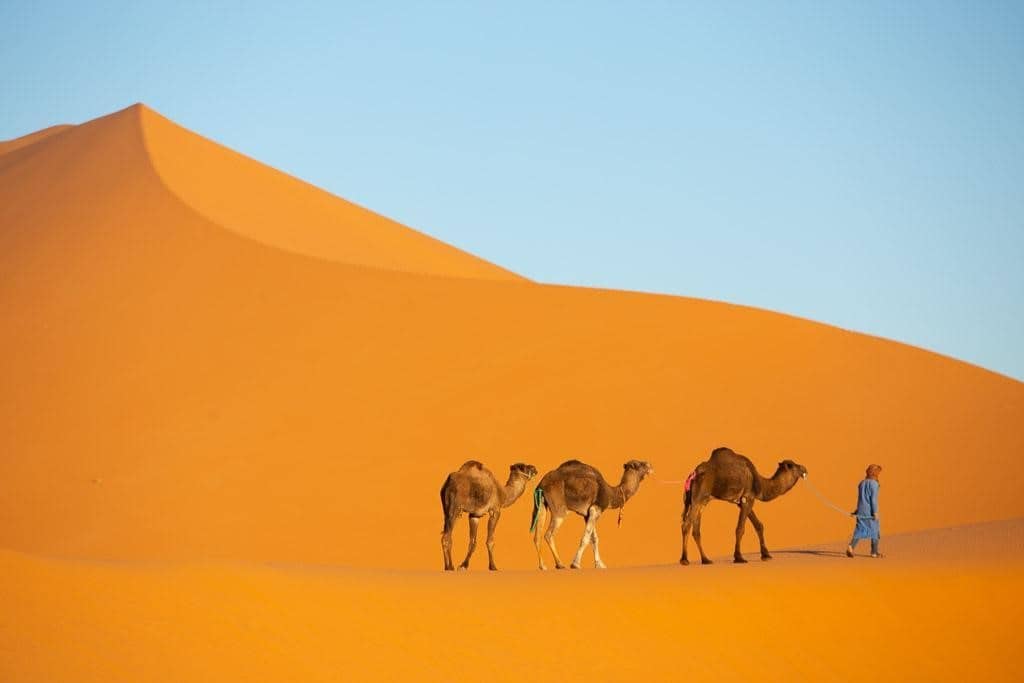
Since I shoot in RAW, the original photo will always retain the colors, even if I switch my settings to black and white on my camera. If you don’t shoot in RAW, I still highly recommend taking your photos in color and converting them later for two reasons:
- You can convert a color image into black and white, but you can’t do the opposite. It’s best to have both options available in case you change your mind.
- The colors in the image affect the black and white tones in the final conversion.
Going back to the original color image, it already looked great, but I felt that the orange color was a bit saturated and overwhelming.
The reason I chose to convert to black and white is because it forces you to focus on the shapes, the contrast and the story. We are no longer distracted by the vibrant colors and the image feels more abstract.
Once I imported my image in Lightroom, I did a quick clean-up, removing dust spots and applying a lens correction. Then I clicked on the “Black and White” tab, located right under the histogram in the Develop Module.
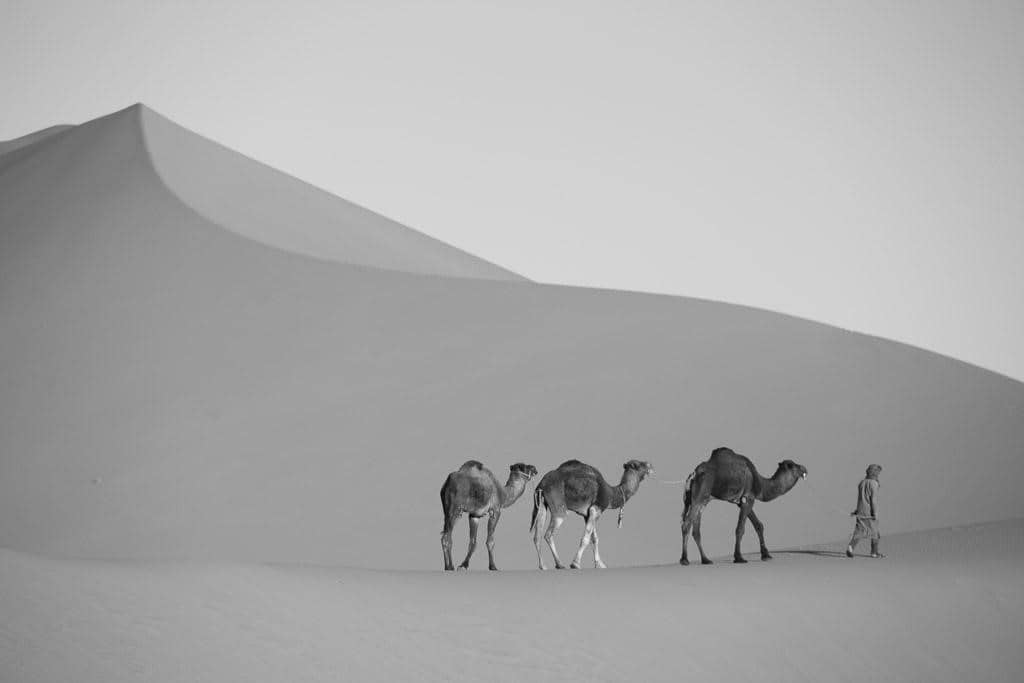
The conversion looked good, but I wanted to further adjust the tones to make the sky and the dunes brighter.
Remember when I talked about the HSL panel, one of my favorite tools in Lightroom a few weeks ago? It gives you control over the hue, saturation and luminance of the colors in an image, but it also allows you to adjust the tone of those colors, even after converting it to black and white. This is the reason why it’s important to shoot in color.
I quickly adjusted the blue and orange sliders to brighten the sky and the dunes. This helped the camels and the guide stand out against the brighter background. The whole process literally took me less than a minute.
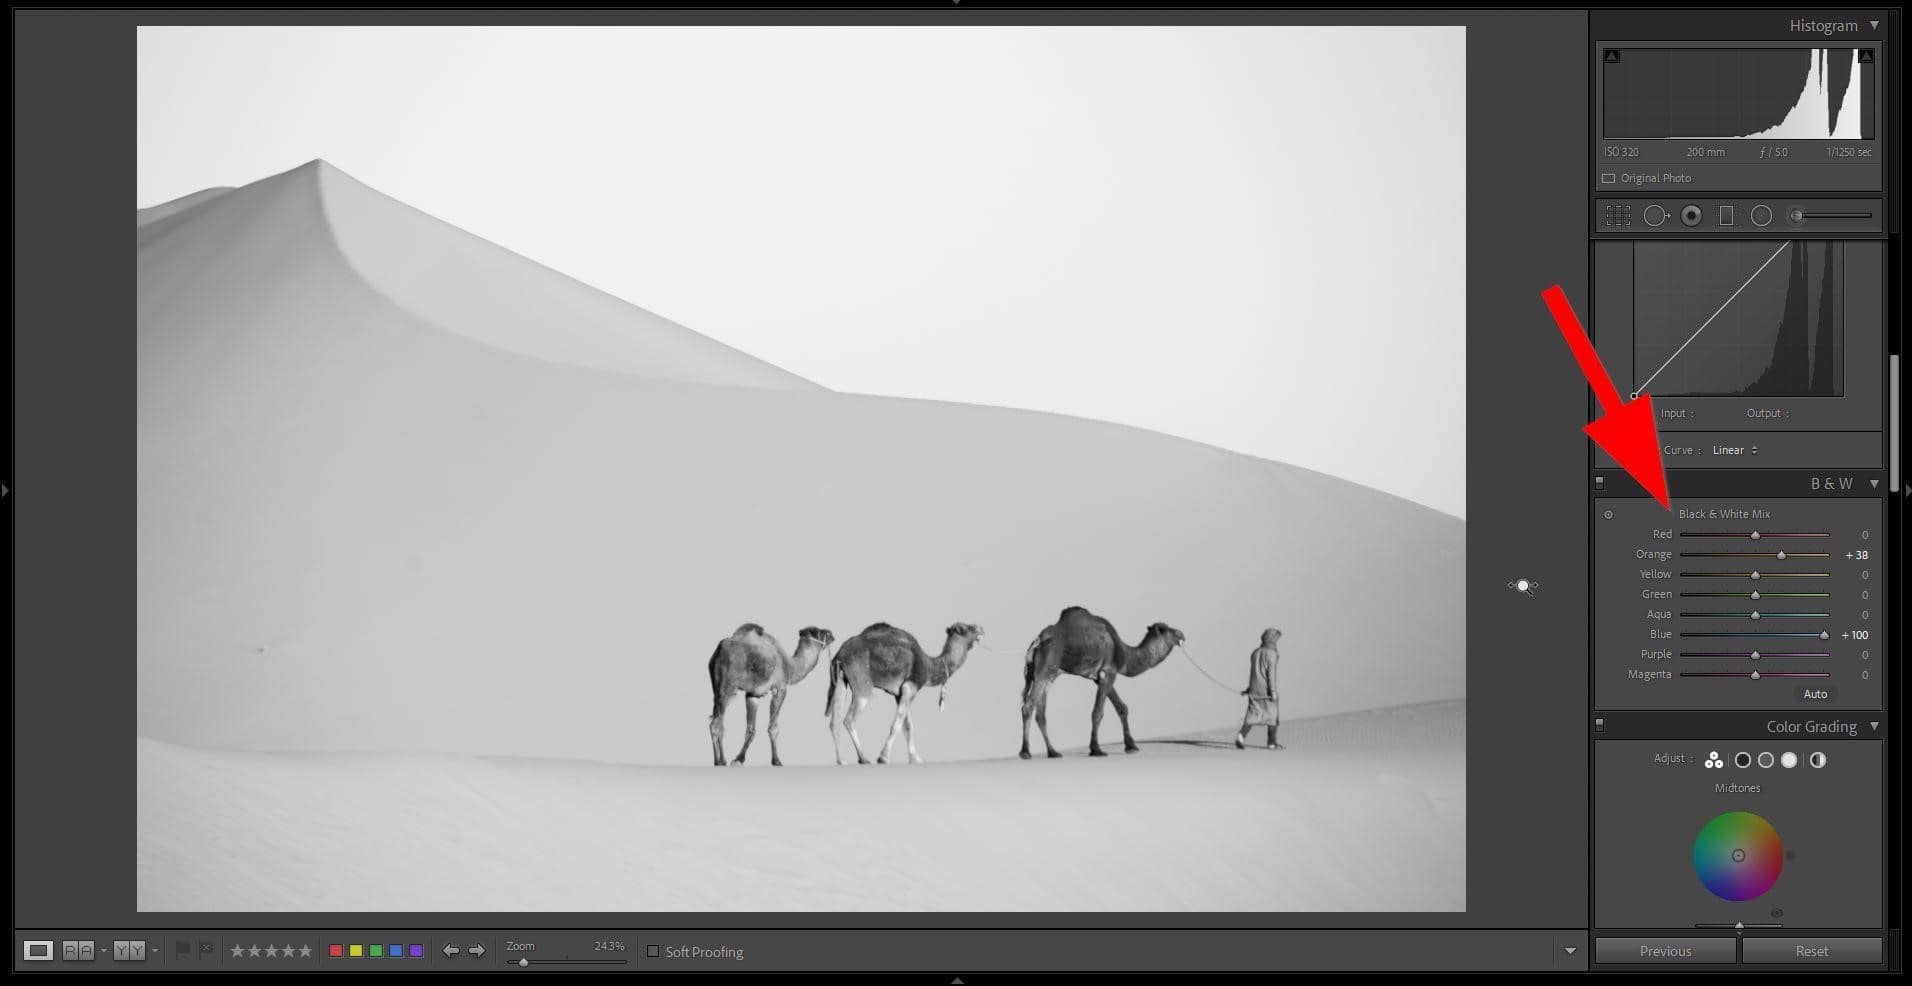
Adjusting the contrast and the tones is an important step to make your black and white photos stand out. Without it, the image just looks flat and dull.
And by using the HSL panel, you can create more dramatic landscapes and even turn a blue sky into pure black to make your main subject stand out.
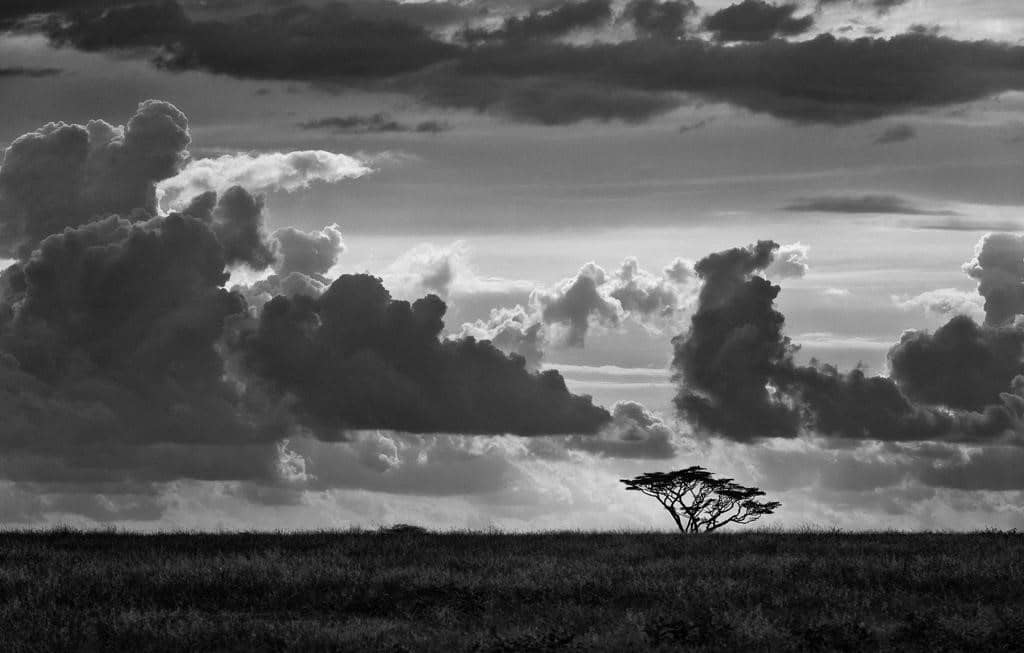
Don’t hesitate to experiment with Lightroom’s tools to create more impactful black and white images!
— Daniel