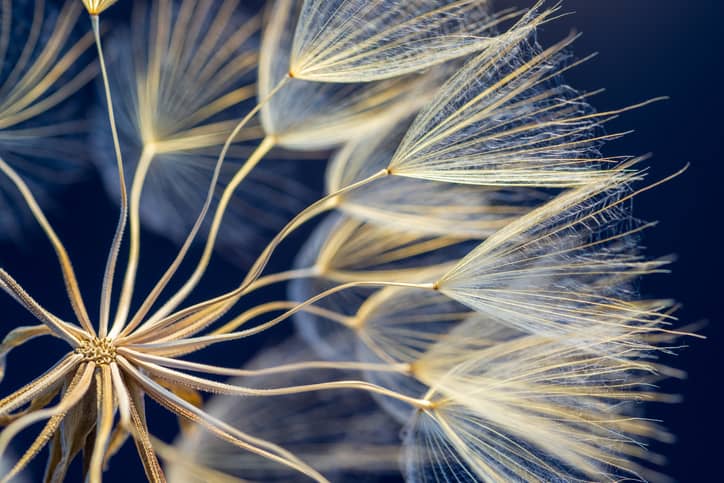
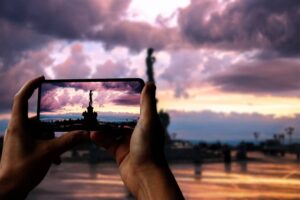
One of the magic powers of photography is the ability to transform the ordinary into art. Shooting macro is one of the best ways to do this.
Macro is all about getting super close to your subject and focusing on small details that would otherwise be overlooked.
It’s a fun challenge to see the world differently, and the photos you create will be great for both stock and fine art. For example, the image below of a close-up of a rock could easily be used as both a background image for stock or a lovely piece of abstract wall art.

Macro can be a little frustrating at first, but these tips will help make it easier. If you take the time to work on your macro skills, you’ll definitely become a better photographer overall. This style of photography will help you hone both your technical skills and your creativity.

Tip #1: Look for interesting patterns, shapes, and texture.
Just about anything can become interesting if you get close enough. The hard part is learning to see the potential in the mundane objects all around you.
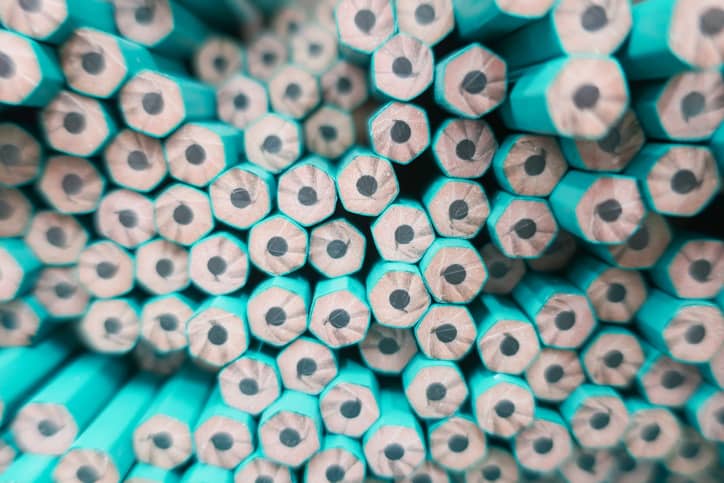
For example, it would be easy to overlook these pencils, but they actually have a very interesting color, shape, and pattern when photographed at the right angle.
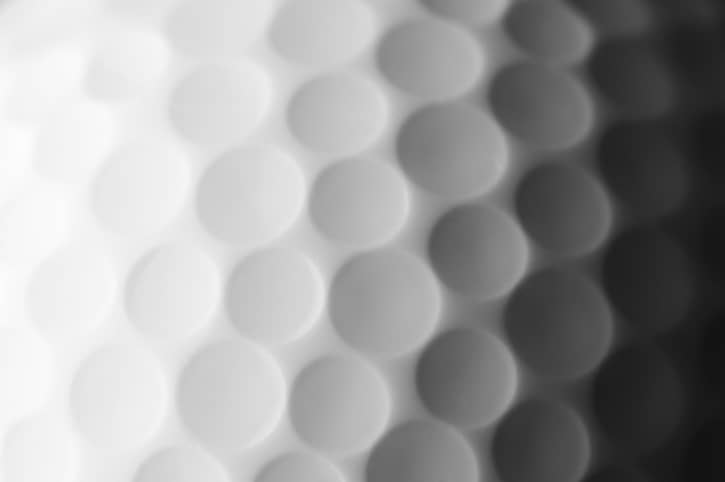
Or how about this golf ball? It’s incredibly simple and yet so visually intriguing.
Tip #2: Use a tripod.
Getting close will really magnify any camera shake, resulting in blurry images unless you stabilize your camera. You may also want to use a remote or a two-second self-timer so that you don’t accidentally shake your camera when you take the shot.
Tip #3: Watch your edges.
Make sure there are no distractions creeping in along the edges of your frame. Try to create super simple compositions and fill the frame with your subject as much as possible. Always ask yourself what you can get rid of in your shot by choosing a different angle or getting even closer.
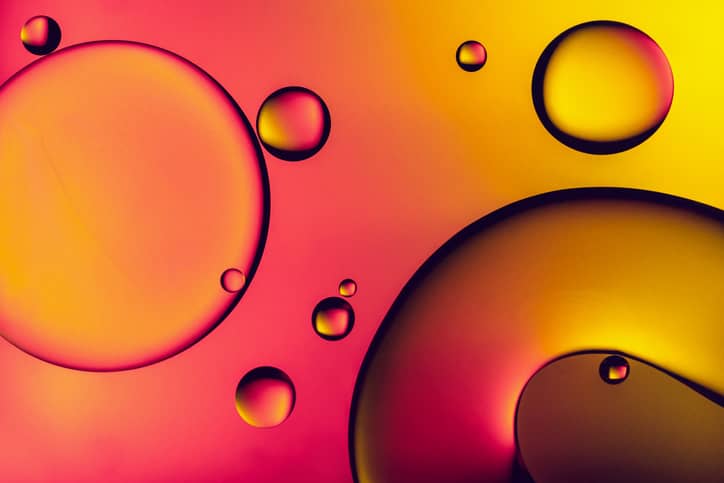
Tip #4: Choose your lighting.
You’ll likely want to shoot with soft and even light such as window light or a shaded spot in your backyard. Avoid harsh shadows and overly bright highlights.
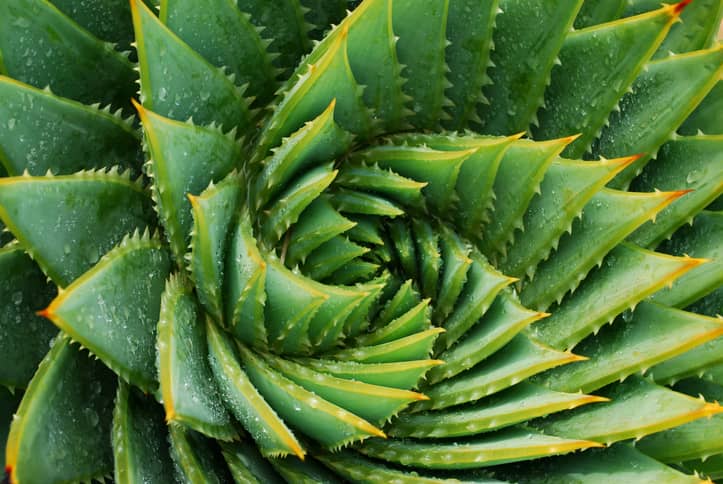
Tip #5: Manually focus.
You may find it quite a bit easier to switch your lens to manual focus so that you can more easily choose exactly where you want your focus to be. Try switching to “live view” mode in your camera to help you see what you’re focusing on as you slowly turn the manual focus ring on your lens.
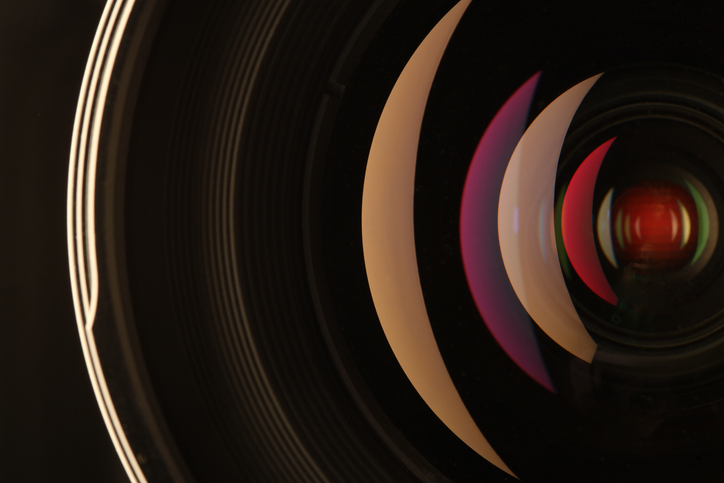
What if you don’t have a macro lens? No problem!
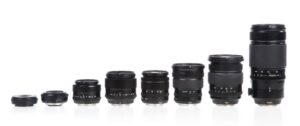
True macro lenses can be a little pricey, but the good news is that you can do “macro style”, close up photos with a variety of lenses. Odds are you already own a lens that will do just fine. Pick whichever lens you have that will let you get close to your subject while still being able to focus. You can then crop your photo to make it look like it was taken even closer.
If you’re curious, usually the minimum focusing distance is printed right on the front of a lens. The idea is that you want to get as close as your lens will allow you to focus.
Put these tips to work and give it a try! There are endless possibilities when it comes to macro.
— Daniel

