Post-processing has become an essential part of the photography process.
No matter how well you capture a photo straight from the camera, it will always benefit from some sort of editing to reach its maximum potential.
Let’s look at one of my images from Thailand. We can all agree that the original photo doesn’t really stand out.

However, with a few adjustments in Lightroom, I can turn this image into a much more sellable one.
So here are five steps that I use in my processing workflow to create stronger photos:
1- Crop and straighten
Most photographers will tell you to try and get the framing as perfect as possible in-camera, and I do agree with that to some extent. However, it doesn’t always work that way.
When viewing my image on a large screen, the first thing I always look for are distractions around the edges of the frame, and if the horizon is straight. If you do nothing else to a photo in post-processing, the one thing you should always check is to make sure the image is straightened.
In this photo, I cropped it tighter to remove some of the rocks creeping in on the right side and straightened the horizon.

2- Remove dust spots
No matter how much you clean your lenses, there will always be occasions where you will end up with dust on the sensor. They will be especially evident in flat color areas like the sky.
Using the “spot removal tool” in Lightroom, I can quickly select the areas with dust spots and Lightroom will clone them out.
Fortunately, in my Thailand image I didn’t have any visible dust spots, but I used the spot removal tool to clone out the remaining rocks on the right side of the frame.
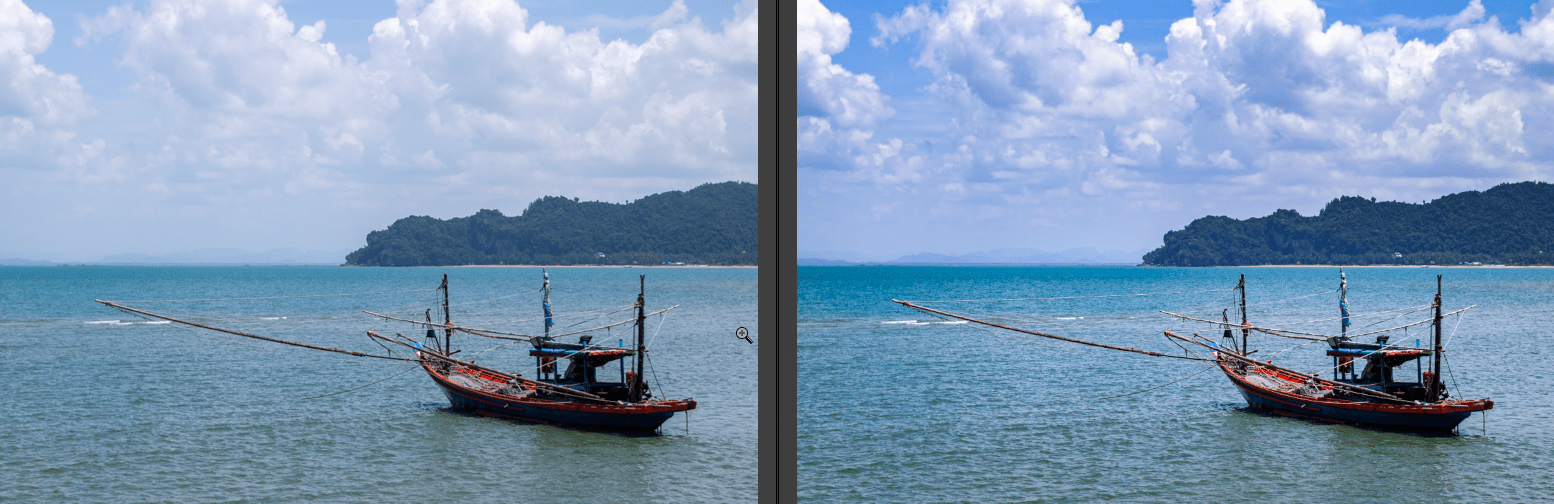
3- Adjust the contrast
Depending on the light and camera settings, sometimes the image turns out flat, with dull colors and a clear lack of contrast. A quick glance at the histogram can help you understand which settings need to be adjusted.
Evidently, the light in my photo looks dull and underexposed. I removed the heavy vignetting and adjusted the contrast with the White, Black and Highlight sliders to make the image pop.

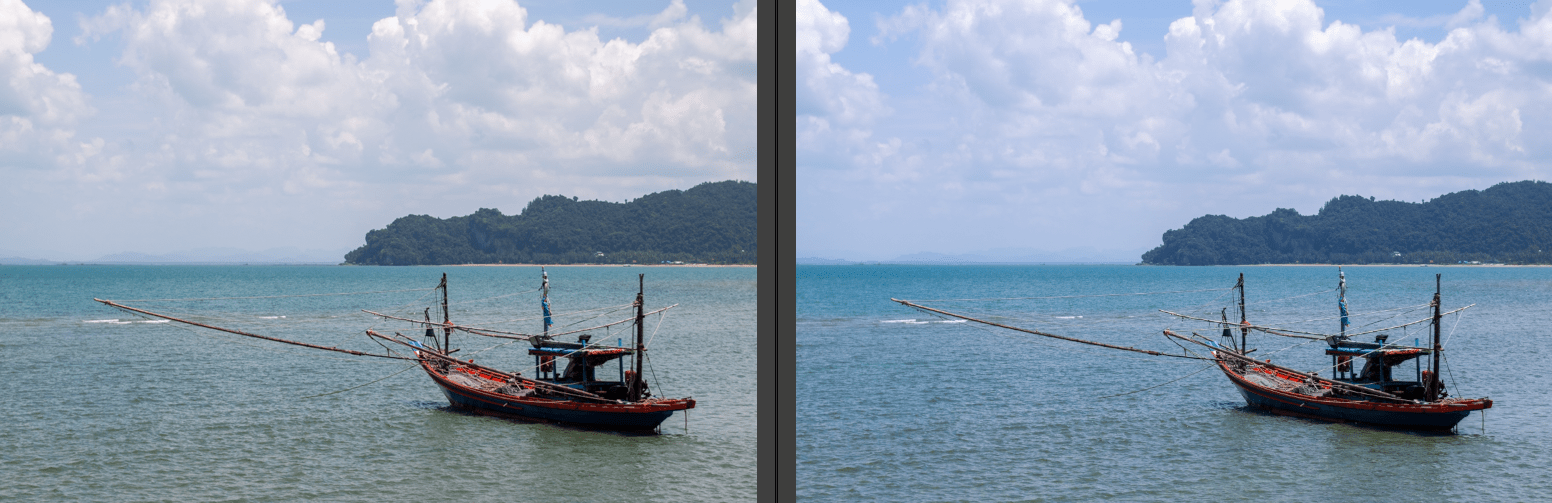
4- Adjust the White Balance
When shooting in Auto White Balance, cameras usually do a good job nailing the proper colors in a scene. But there will always be situations where they’ll get it wrong and the overall mood of the image will feel off.
When that happens, I use the White Balance and Tint sliders to make the adjustments to my liking.
Here, I felt that the colors were slightly too warm and didn’t fit the “summer at the sea” mood. I pushed the White Balance slider to the left and made the entire image look bluer, enhancing the color of the sky and removing the greenish tint from the water.
5- Apply your own style
And finally, my favorite part!
Depending on what you are shooting for (such as fine art for example), editing isn’t just about applying simple adjustments. It’s also about inserting your creativity into the image.
I often use the HSL panel to adjust colors, use the different graduated filters and brushes to apply local adjustments and give the image that special look I had envisioned the moment I pressed on the shutter button.
Hopefully these 5 easy steps will help you improve your photos efficiently. As always, feel free to share your edited images on our Facebook page, I’d be happy to see the results!
— Daniel